Section 2.1 Using the SDK on Codespaces
Before you begin: copy any files you want to save from your Pi Pico to a safe location on your laptop (like the Downloads folder). They may be preserved, but we shouldn’t count on it.
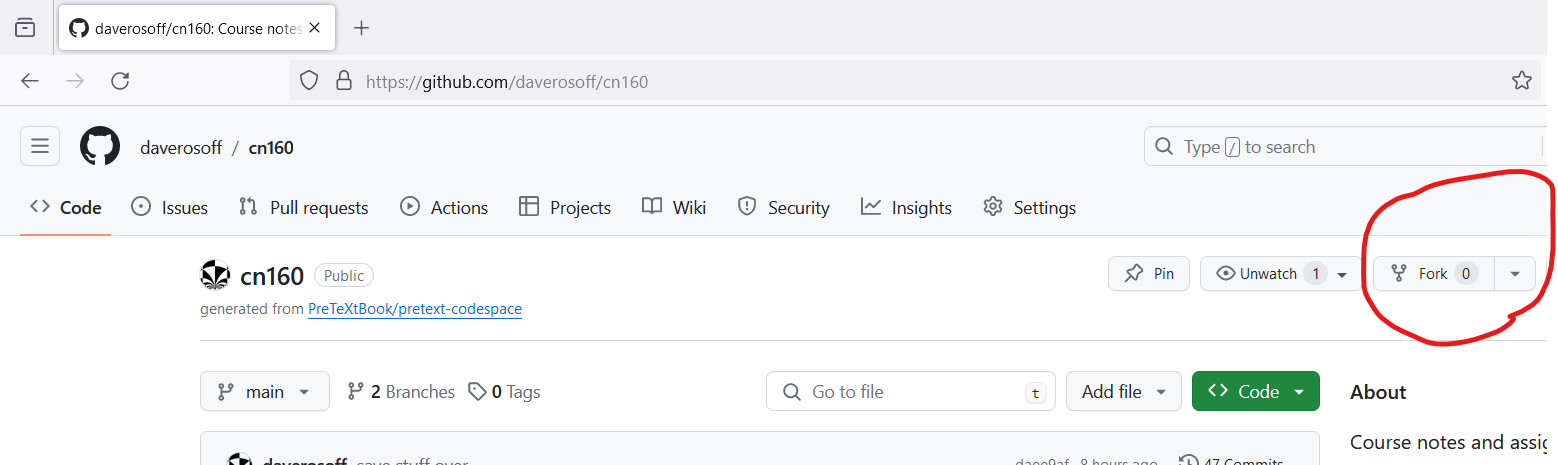
- After the fork process is complete, you should be able to visit your fork. This is a copy of my
pico-c-sandboxrepo that belongs to you. Make sure that the title of the page is<your-github-name>/pico-c-sandboxand click the big green Code button. Then, use the Codespaces tab to “create a new Codespace on main” from your fork. This will take a few minutes, and then you will see a VS Code window in your browser. Find the Terminal tab and open it. You should see a prompt that looks like this:@your-github-name /workspaces/pico-c-sandbox (main) $
The prompt indicates the console is waiting for a command. To save room we compress the prompt to just the$character. You will type everything after the$character on the same line. The text you type appears in a boldface font. The text the console prints in response appears in a normal font. The console prints a blank line after each command. - Run the following commands, pressing Enter after you type each one:
$ git clone https://github.com/raspberrypi/pico-sdk.git pico/pico-sdk
Cloning into 'pico/pico-sdk'...
$ git clone https://github.com/raspberrypi/pico-examples.git pico/pico-examples
Cloning into 'pico/pico-examples'...
$ cd pico/pico-sdk

$ git submodule update --init
(a lot of output)
$ cd ../..

$ sudo apt update
(a lot of output)
$ sudo apt install cmake gcc-arm-none-eabi libnewlib-arm-none-eabi build-essential
(a lot of output)
- These commands install the compiler itself, the SDK, and some example code. Most of them produce a lot of output, which we have omitted here. The
cdcommand changes the current directory to the one specified. Thesudocommand runs the following command as the superuser, which is required to install software. Theaptcommand is the package manager for Debian Linux, which we are running in this Codespace. - Now, use
F1key to bring up the Command Palette. This is the best way to run commands in VS Code. TypeCMakeand selectCMake: Configurefrom the list of commands that appears. If you are asked to select a kit, choosegcc-arm-none-eabi. This will take a few minutes, and you will see a lot of output in the console. When it is done, you will see a message like this:You will also see some activity in the status bar at the bottom of the window indicating that CMake is doing its configuring.Configuring done Generating done Build files have been written to: /workspaces/pico-c-sandbox/build
When the configuring is done, you are ready to compile and run some code!
